Please Respect My Work...

All of the cards, layouts, handmade items and art work displayed on this website are copyright to me, Lynne Mizera. Of course I hope to inspire and encourage you and would be morethan happy for you to use any of my work to that end; however, please respect me and my work and do not directly copy any of my projects without crediting me or enter any of my work into any magazines or competitions without my express written permission. All my cards, layouts, projects and art work are not to be used by any commercial enterprise for any financial, marketing or commercial gain.

Friday, December 19, 2014

THANK YOU! and another Friends With Flair

Hello all my peeps and followers!  Today I wanted to send out a huge THANK YOU  to all of you that take the time out of your busy, busy lives to pop in and visit me to check out whatever I am working on these days, and I especially love when you leave me a comment because to me that feels like I'm getting a cyber hug.  Since I retired from going into an office every day all of YOU have been one of my main connections to the outside world and I APPRECIATE you SOOOOO MUCH! So here is a card just for YOU
I am linking up this little lovely to Unity Stamps' "Friends with Flair" because she was created with one of my newest stamps and newest Addictions.... Suzi Blu's Stamps from Unity, and this is her Spring Flower Chic stamp by Unity.  
I... LOVE... Suzi Blu! And Unity Stamps are carrying quite a few of her amazing creations in red rubber (of which I have almost all of them - Grin) So be prepared to see many more of her stamps over the coming weeks! This little lady was created using the Party Love Exclusive stamp created by Suzi just for Unity.

Now for those of you that need to know, both these pretty ladies were stamped onto 140lbs watercolor paper and painted with a combination of InkaGolds and Twinkling H2O's and then highlighted with black and white gel pens, Stickles and Liquid Pearl.

Thanks for popping in today and Please DO leave me a comment... because today as a special Thank you I will be drawing from all my comments and mailing out these two cards to two people who took the time to comment ((Hugs))

Scrapbook Lynne Mizera


Wednesday, December 17, 2014

What's On Your Workdesk Wednesday #289

I almost missed it - but HERE is what's on my Workdesk this Wednesday - for the Stamping Grounds WOYWW#289!!
I've been home from Mexico for five days and I am head down, butt in the air WORKING, pumping out goodies for friends and family as fast as I can... and I today I want you to focus in on that low-ly little toilet paper roll on my desk because I am going to share a fantastic tip passed on to me by the FABULOUS Dawn Heuser-an extremely talented and inspirational Paper Artiste from Saskatchewan, Canada. HI DAWN! Grin

Using Mod Podge as a paste, roll a piece of decorative paper around your paper roll and then flatten when it has dried - The thinner the paper the easier it is to do.  Now close One end (I stapled it using my mini fastener) and decorate to your hearts content!  For What? you say...  Well once flattened these rolls create the perfect GIFT CARD HOLDER! Who KNEW?!?
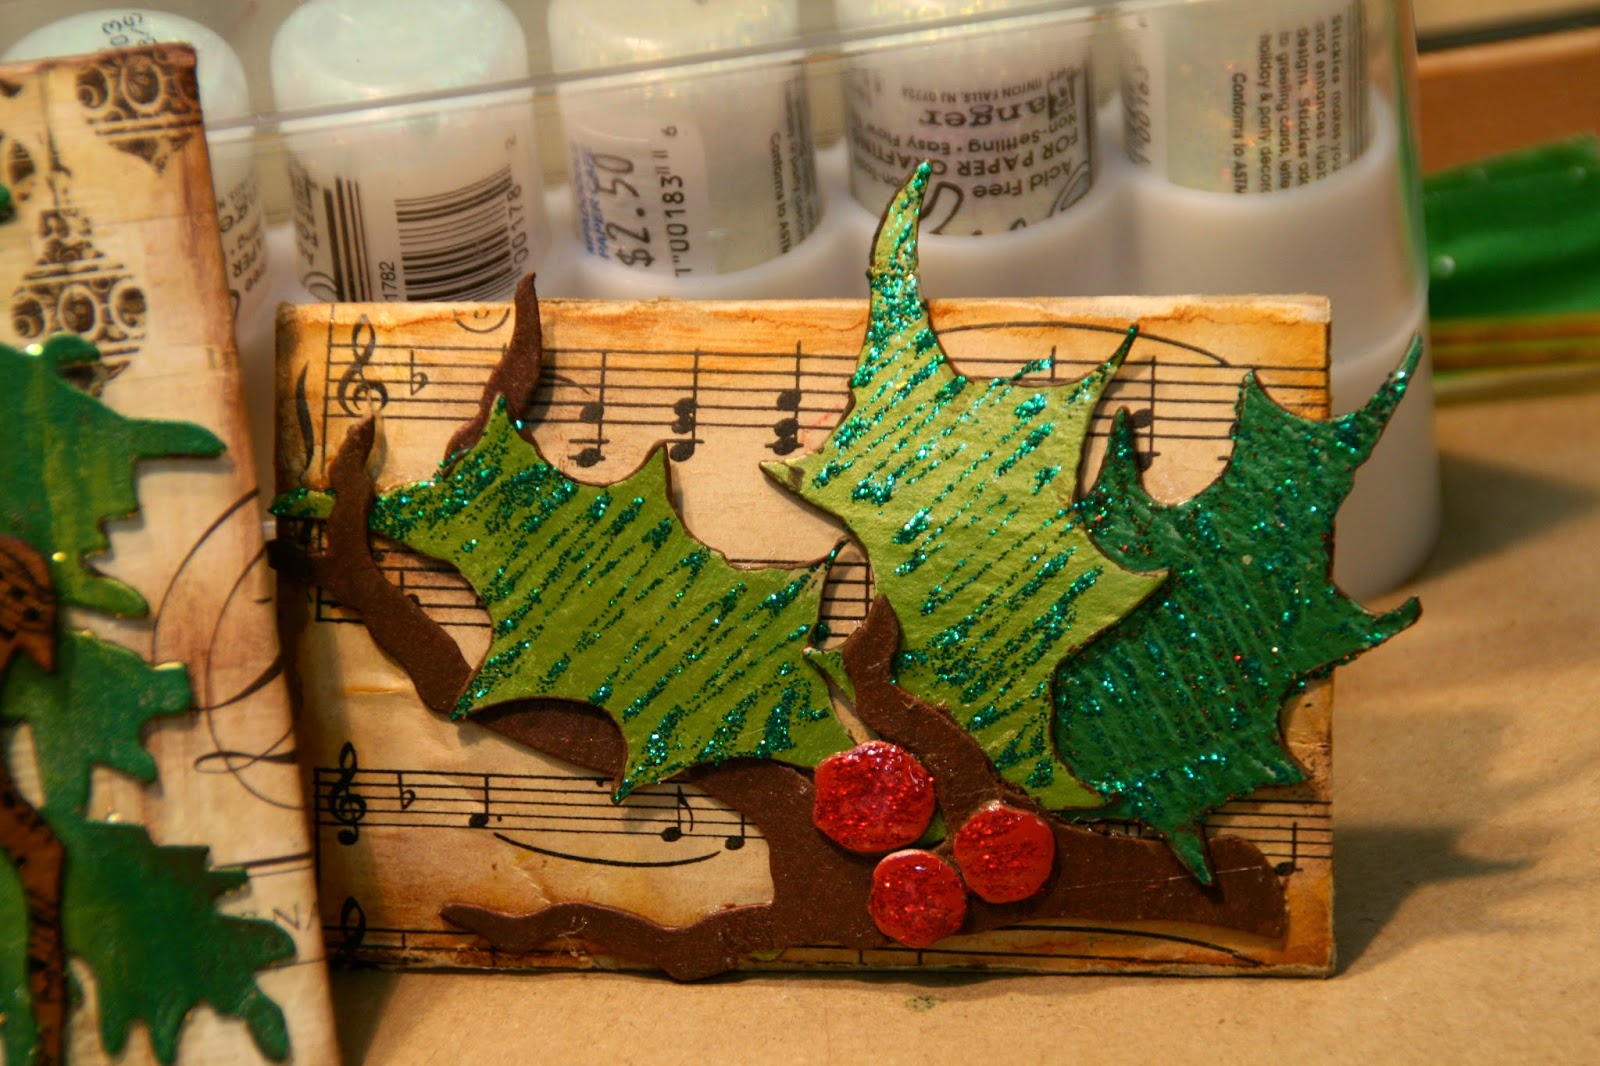
I broke out some NUBUS (Never Before USED Schtuff) some Tim Holtz dies that I have been Hoarding and cut out my images using some scrap cardboard and then rubbed them with my Inka Gold pastes... Do I LOVE that stuff! 

A bit of ribbon and Stickles and Liquid Pearl and Voila!... totally awesome, personalized gift card holders... 

I will attach a small bit of ribbon to the back to that they can be hung from the tree and then kept as the 2014 tree ornaments as well... 

So now I have Another thing that I cannot bear to throw away... Grin!

I do hope you enjoyed this little photo class and please DO leave me a comment if you like what you see!
Cheers and Happy HOLIDAYS!
Scrapbook Lynne Mizera


Saturday, December 13, 2014

"N" is for Naughty (Christmas Card)


Hello everyone! It's time again for ANOTHER Sisterhood of Snarky Stampers' Challenge and it's also getting close to the end of our first year of challenges... who knew Being on a Design Team could be this FUN?! This week our challenge is:  
"N" is for Naughty
(as in a Make Christmas Naughty!)
And since Naughty is What I do BEST here are my submissions, Yup two cards this time, both using those awesome digital stamps I got from Crackerbox Palace.  I love these guys because You have the option of ordering your stamps three ways; rubber mounted on wood, unmounted acrylic, or digital stamps.
This is Sliding Snowman Neiva (Snow Woman?) and she is my absolute favorite Christmas card this year, just look at all that energy!  If you ever meet me in person I'm sure you will see a resemblance. I colored her using my copic markers, blinged her up with Stickles and Liquid Glass and then mounted her on an embossed plain card stock. This saying is from my Dyan Reaveley Christmas Sentiments and doesn't it just make this card?
And here is Card #2... using my digital stamp Snowman with a Heart, Isabella.  She reminds me of ME and the sweet, sweet smile I have on my face just before I do something REALLY Bad...Grin.  I'm told at 52 that it is still the same smile I had when I was just two years old.  Some things never change!


So why not join in this week and create something "naughty" for this challenge, you have until December 26th to link up and we always choose a Queen of Snark and her two Princesses.  You get this awesome badge for your blog and a Guest Designer spot if you want it!
And if there is just no time it is still worth popping on over to the Sisterhood of Snarky Stampers Blog to chuckle over what the rest of the design team created!

Thanks for popping in and I am wishing you Happy HAPPY pre-Christmas weeks from the hot sand in Mexico...
Cheers,
Scrapbook Lynne Mizera


Friday, December 12, 2014

It's a Friday Tavel Day

It's Friday again... and today I am on a plane winging my way back home, girding up my LOINS to bravely face the frigid temperatures of mid-December in Alberta after two weeks acclimatizing to the hot, hot weather of Mexico!  But It's always nice to come home isn't it?
So for this Unity Stamps "Friends with Flair" it seems appropriate that I am submitting this card I created using Angie Blom's "Stronger than Anyone - Jessica Girl".  I painted her using my Luminarte Twinkling H2o's and I just love how she turned out, don't you?
 Thanks for popping by to see what I am up to today and please do leave me some blog lovin' in the form of a comment if you like what you see!
Scrapbook Lynne

Wednesday, December 10, 2014

WOYWW #288 and More STORAGE TIPS!

Again I'm dong a bit of a cheat, but How can I miss a week of linking up just because I'm on a beach in Mexico??? So here is another photo of my beautiful clean and tidy studio space...

 for The Stamping Ground's What's On Your Workspace Wednesday #288. (be advised that this is not a typical view of this space) 
And, as promised, here is another Storage Tip, this week I am sharing:
HOW I STORE MY STICKLES
I LOVE STICKLES & LIQUID PEARL, I use this product on everything and I have every single color I can find (except for the Distress Stickles, I just don't get Stickles without the sparkle?) and after trying several different storage methods I have found the one that works best for me and my ever growing collection... it is the Dazzle Caddy by a company called Best Craft Organizer.
I have 10 of these caddies, organized by color family, but I love how easy it is to change them around, add  more colors or, if I'm off to a retreat I just fill one or two or three with the bottles I think I might want.

As you can see they store my bottles upside down so I never have to waste time trying to get the stuff off the bottom to the top and I can fit 10 of these babies in one drawer of my storage unit. 
It is working Beeeeautifully for me, so if you are as addicted to stickles as I am try out these caddies they are AWESOME! (Note: I have not been paid for this advertising, I just LOVE this product.)

Thanks for popping in today and don't forget to go check out more work spaces at The Stamping Ground - and please do leave me a comment if you like what you see... 
Ola from Mexico!
Scrapbook Lynne Mizera


Sunday, December 7, 2014

A Super QUICK Christmas Card Idea ...

Hello everyone, this is another pre-scheduled post while I am away and I am sharing an idea that has been bouncing around in my brain for a while and I finally got to try it out.
Here are some Super Quick Home-made Christmas cards that look like you spent a LOT of time on them... perfect right?  I created 14 cards in less than two hou rs and here's how:
I found these Christmas cards at my local Dollarama store for $1.25 each, 14 cards in each pack, and all I did was cut out images from half of the cards and pop them onto the other half using foam pop dots ...
a bit of ink around the edges and some Stickles and Liquid Pear and Liquid Glass to make them pop and Ta Da! 14 Super Cute Christmas Cards that I would be Honoured to receive!

If you thought you just didn't have time to Make Cards again this year, I hope this helps to get the card-making fire burning in our belly again!  And please do leave me a comment if you like what you see!!
Cheers... (I mean HOLA for Mexico!)
Scrapbook Lynne


Friday, December 5, 2014

Happy HOT Friday!

Yup, it's Friday again... and here I am all tanned and stinking HOT sitting on my deck in Manzanillo Mexico with one week of my vacation gone and another week to look forward to... Happy, Happy Sigh... Grin
The view from Our Balcony
But Friday also means Unity Stamps' "Friends with Flair" and I am NOT going to miss that just because I am here in Mexico... so here is another Angie Blom Girl that I stamped and painted using my Luminarte Twinkling H2o's: Maggie Girl, It's Your Birthday.
I am LOVING this "re-discovered" product of mine because not only do the colors layer without blending to mud, but these paints add a wee bit of subtle shimmer that sparkles without overwhelming the image.  And I am passing on this usage tip that was passed on to me which made all the difference in how I use these paints:  before you start to paint, use a mini-mister and pump a couple of sprays of water into your paint pot and let it sit for about two minutes, the water will turn the hard packed pigment into richly colored syrup that you can water down as needed.  and when you are finished the paint pots dry back to that hard-packed pigment again.

So thanks for popping in to see what I am up to and don't forget to leave me a comment if you like what you see!!
Scrapbook Lynne From Mexico!

Tuesday, December 2, 2014

WOYWW Wednesday #287 & Distress Ink STORAGE TIPS!

Hello My Peeps! I'm kinda cheating this week for "What's On Your Workspace Wednesday" since I am really sitting on a beach in Mexico (grin), but I just couldn't miss a WOYWW link up so I pre-scheduled this post so I can share what my workspace looks like when I am away: 
(please note that this is NOT typical and only happens when I go away! Grin)

And as an added bonus, while I am away, I will start sharing some of my storage tips and tricks with you every Wednesday. Here is the first one: 
 How I Store My Ranger Distress Inks
I LOVE how easy it is to find and use all my Ranger distress inks since I incorporated these three easy steps.  Now the very first thing I do when I buy a new ink pad is to place a piece of peel-n-stick Velcro to the back of my ink pad which holds a dedicated ink sponge.  That way I ALWAYS have a sponge and the correct color sponge no matter what Ink Pad I choose.
The traditional rectangle ink sponges fit perfectly into the back of the square Ranger ink pads and the new mini circles sponges fit perfectly into the back of the new mini Ranger distress inks using these small Velcro circles that can be found in any dollar store.

...and BONUS, the new Ranger storage tin for mini inks that I just purchased allows me to see exactly what color my ink is on it's sponge.
The second thing I do is LABEL the side of each ink pad using my awesome label maker, so I can see immediately where my colors are. I used to hate having to pull out 10+ pads to find my color and now I don't have to!
And the third thing I did was to buy this holder for all my inker handles so they are always at my fingertips.

I store everything (except the stamps holder) in this  wooden storage unit which has one divided drawer into which fit perfectly all my Ranger ink pads, so now I just open the drawer and everything is at my fingertips...


Thanks for popping in to see my space today and if you can use some of my storage ideas BONUS! (because it really is all about the Storage!) Grin.  And please do pop by next Wendnesday for another storage tip, Cheers from Mexico...
Scrapbook Lynne Mizera