Please Respect My Work...

All of the cards, layouts, handmade items and art work displayed on this website are copyright to me, Lynne Mizera. Of course I hope to inspire and encourage you and would be morethan happy for you to use any of my work to that end; however, please respect me and my work and do not directly copy any of my projects without crediting me or enter any of my work into any magazines or competitions without my express written permission. All my cards, layouts, projects and art work are not to be used by any commercial enterprise for any financial, marketing or commercial gain.

Sunday, January 29, 2017

Re-purposing Tin Cans To Create Storage With Personality

Happy Day Everyone!  And welcome to another "Stencil Sunday" over at the STAMPlorations blog.  Today for your inspiration I am sharing these cute tins I created using a few tin cans pulled from my recycling bin, because "Why Not?" give them a second life before they head off to the landfill. (smile)

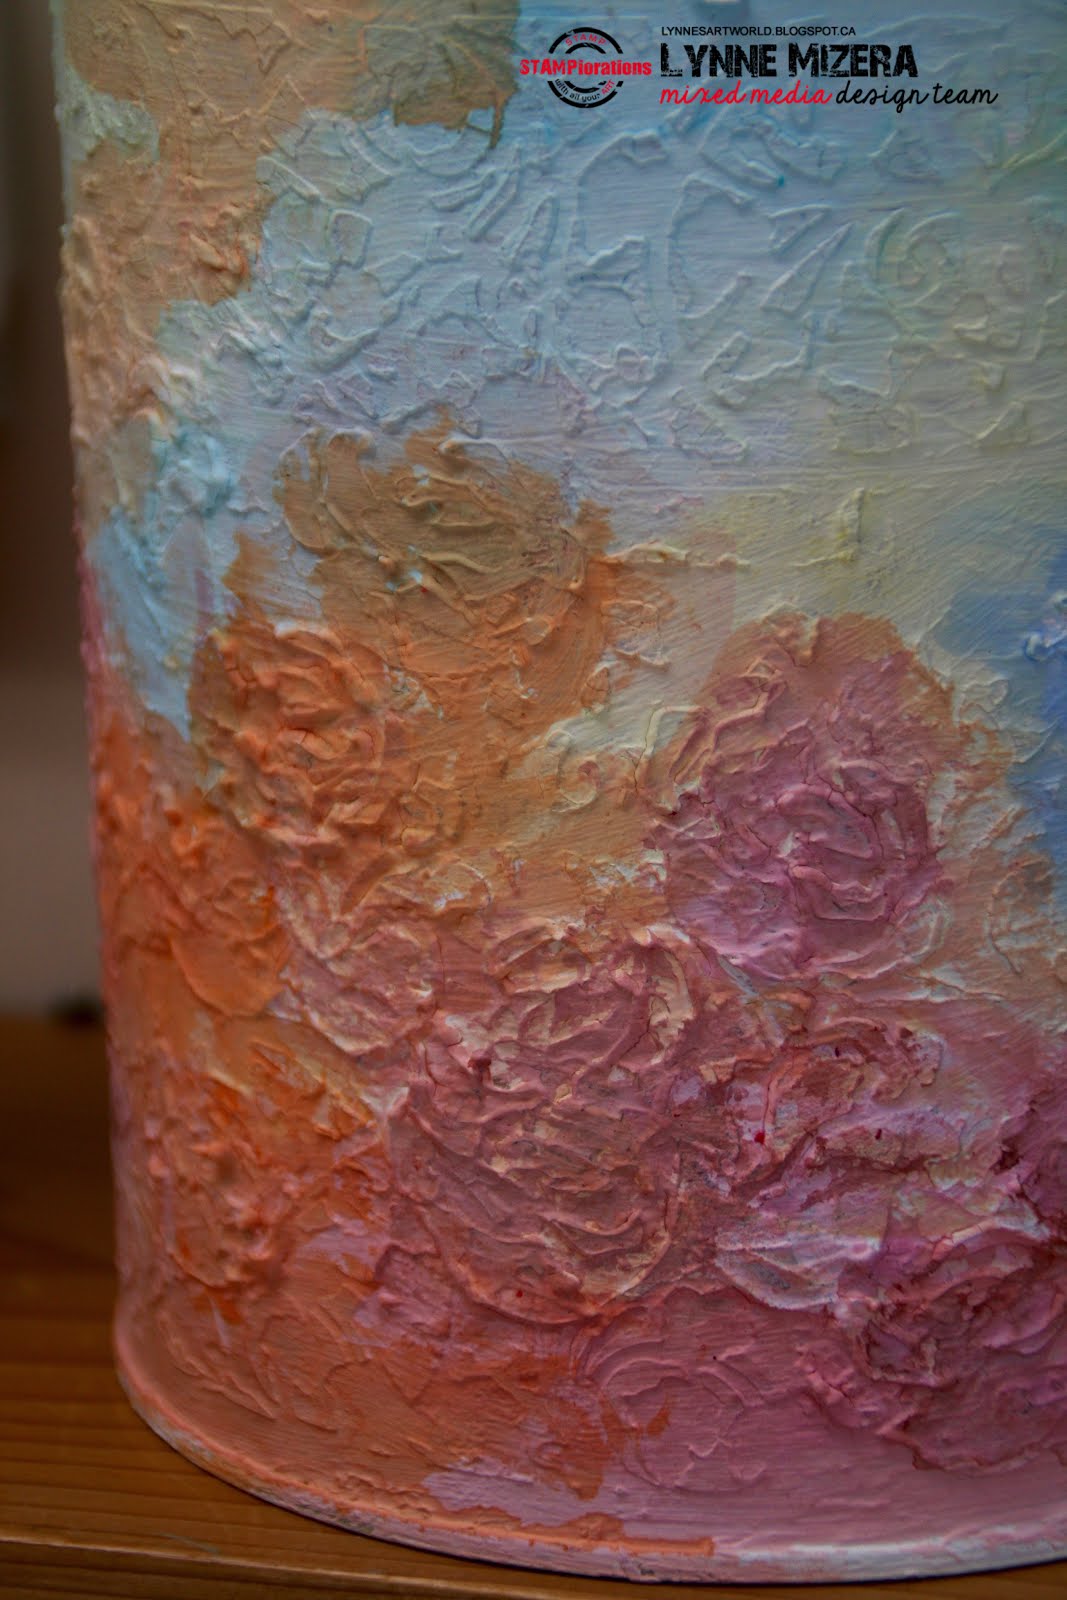
I painted the tins with a coat of heavy, white gesso and let it dry completely before rubbing in some Silks acrylic glazes by ColorArte with my fingers.  I LOVE my silks because they not only dry almost immediately but the colors blend beautifully and leave behind a vibrant, shimmery color.

I then had three beautifully-colored, blank canvases and I just let myself PLAY using a whole bunch of my Dreamweaver pastes and  a lot of my STAMPlorations stencils and stamps to create bright and vibrant storage for some of my many brushes and tools... 

And since these tins were for my own use in my studio space I let myself just play and experiment with different products and techniques and colors, not worrying too much about it "being right".... and once I filled them with my brushes and tools they really did add something bright and glittery to my space....  

I like to create bright and colorful storage using bits and pieces from my recycle box and then place them in my studio where I love being surrounded by all these lovely bits of my own work.   (Go HERE to see how I created this awesome storage for my 6x6 stencils)

Thanks for popping by today, I hope I have helped to inspire you to go search your own recycle bin to see what you can find!  
Lynne Mizera, Mixed Media Artist
for the STAMPLorations Mixed Media Design Team

STAMPlorations products used:
Dragonfly Waltz
Grunge Floral Strips
Just Flow
Trendy Birds
Leaf Prints
Hope Blooms

Other Products Used On This Project:
Dreamweaver Embossing Pastes:
Glossy Black
Metallic Copper
Metallic Silver
Crackle
ColorArte Silks Acrylic Glazes
Ranger Archival Ink and Liquid Pearls
Matte ModPodge
Finnabair ArtBasics Heavy White Gesso


Friday, January 27, 2017

Turning An Empty Tin Into Giftable Storage...

 
Happy Friday Everyone!  Lynne here today and for my first mixed media tutorial in 2017 on the STAMPlorations Blog I am going to show you how I turn empty Coffeemate tins into unique and lovely containers which I fill with treats to gift to friends and family.

Starting with an empty Coffeemate tin I lightly sand the outside and use embossing pastes and stencils to add texture.  When the pastes are completely dry I paint the tin with a layer of thick, white gesso and then add my base color.
For this tin I used my Peerless Watercolors which blended beautifully and left me with a soft pastel background.
Then I use one of my favorite mixed media techniques... stamping onto tissue paper or the thin paper that you find in a large dictionary and using matte Mod Podge to paste the perfectly stamped image onto the lumpy, bumpy surface of my mixed media project. 
This dictionary I found in a second hand store for two dollars is my absolute favorite to use for this method and I love how the paper is almost transparent yet tough enough to handle inks, paints and Mod Podge.
When stamping your image make sure to use a waterproof ink, like Stayzon, or the image will bleed and run all over your project when you go to apply it.  I use a watered down matte medium, like Mod Podge to glue my images to the tin because the matte finish will absorb more paint and ink beautifully once it has dried.
 
The tin already looks fabulous and I could stop right now, leaving the stamped images just as they are, but I felt like I wanted to add more color.  So using the same Peerless watercolor paints, I tinted the centres of the flowers and added a light wash of colors onto only some of the petals...
I also used a fine point sharpie marker to outline the centers and redefined some of the petal lines on the flowers, which made them pop right off the background.  
And finally... I used Rangers Stickles on the centres of each flower and Liquid Glass on the petals to add the little bit of sparkle and shine which all my pieces seem to have...
It is really tough to photograph a round object so you can really appreciate the colors, the texture and the sparkle of this piece.   So here are a few super close ups to help you to see how lovely the texture and the colors turned out.
I make many, many of these tins, each reflecting the personality of the person I am gifting... This one is a little bit of early spring being sent to brighten up someones day.  And because I am filling it with muffins, the inside will be as yummy as the outside!

So thanks for popping in to see how I used my stencils this month.  I do hope I inpsired you to go make something with your stencils.  And if you do, please remember to add your project to this month's "Anything Goes Except a Card", Mixed Media Challenge.

 STAMPlorations Products Used On This Project:
ARTploration Stencil: Build Me a Rose
Stamp: Helenium-Large
Stamp: Hope Blooms
Other products used on the project:
Dreamweaver Embossing Paste
Finnabair Art Basics Heavy Gesso
Peerless Watercolors
Ranger Stickles
Stayzon Ink - Teal and Midnight Blue
CTMH Liquid Glass
Matte Mod Podge
Sharpie pen - black
 

Sunday, January 8, 2017

A Shaker Birthday TAG... So Much Fun!!


Happy Stencil Sunday Everyone!! Today I created a Shaker Birthday Tag for my Grandson's 10th Birthday.... So EXCITING to have another Grandson in double digits!!

I used the ARTplorations  Retro Circles Stencil and Ranger Distress inks to create the background... The CUTplorations "Amazing" die and some foil paper to cut out the sentiment and the Luggage Tag Nesting Dies to create all the bits and pieces I needed to create a shaker tag... 

AND I created second tag in minutes by gluing the leftover piece of foil from the "Amazing" die cut onto a brightly painted piece of scrap paper.


So go and create something using a stencil this month and don't forget to link up to our January "Anything Goes Except a Card" mixed media challenge - there are prizes!!
Prizes:
- $10 gift certificate to the winner voted by the Mixed Media team
- $5 gift certificate each to the 2 top picks
- If there are 25 or more entries: 1 random winner of any 2 standard size stencils

As always - Thanks for popping in to see what I am up to!
Lynne Mizera
for the STAMPlorations Mixed  Media Design Team 
 

Retro Circles Stencil
CUTplorations "Amazing" die

Luggage Tag Nesting Dies